Deploying Django + Celery + Celery Beat to AWS Elastic Beanstalk

In this tutorial, I will assume you are already familiar with Django and have already a working Django + celery project running locally or in another provider.
This tutorial is specifically tailored for Python 3.7 (and above) running in the new Amazon Linux 2.
Table of Contents
- Creating the Beanstalk Application
- Installing AWS EB CLI
- How to adapt your project to run inside Beanstalk
- Setup Celery + Celery Beat
- Deploying the project
- Debugging inside Beanstalk
- Things to watch out for
1. Creating the Beanstalk Application
You can do this in two ways, in the AWS console or in the terminal with the EB CLI that we will install in the next step.
I prefer to do this inside the AWS console, because there you have a much bigger range of options to configure your application, and eventually you will need to go there to configure something. So you might as well get used to it by creating your application there.
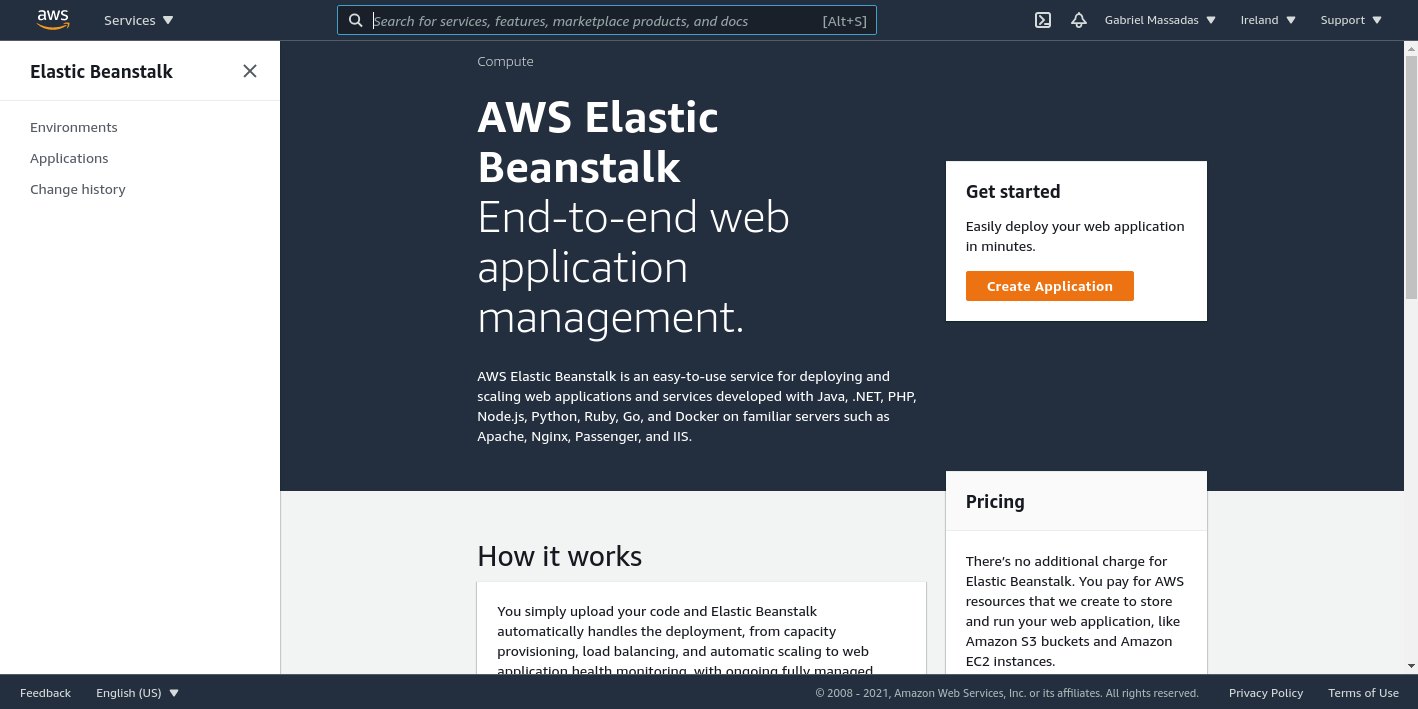
Just open your AWS account and search for “Beanstalk” and hit “Create Application”.
Next, fill in the Application name and tags (Optional).
In the “Platform branch” select any python version you want, you just have to make sure to select anyone that uses the “Amazon Linux 2”.
Also Optionally you can click “Configure more options” to customize even further your application behavior, but you can always update those options later down the line.
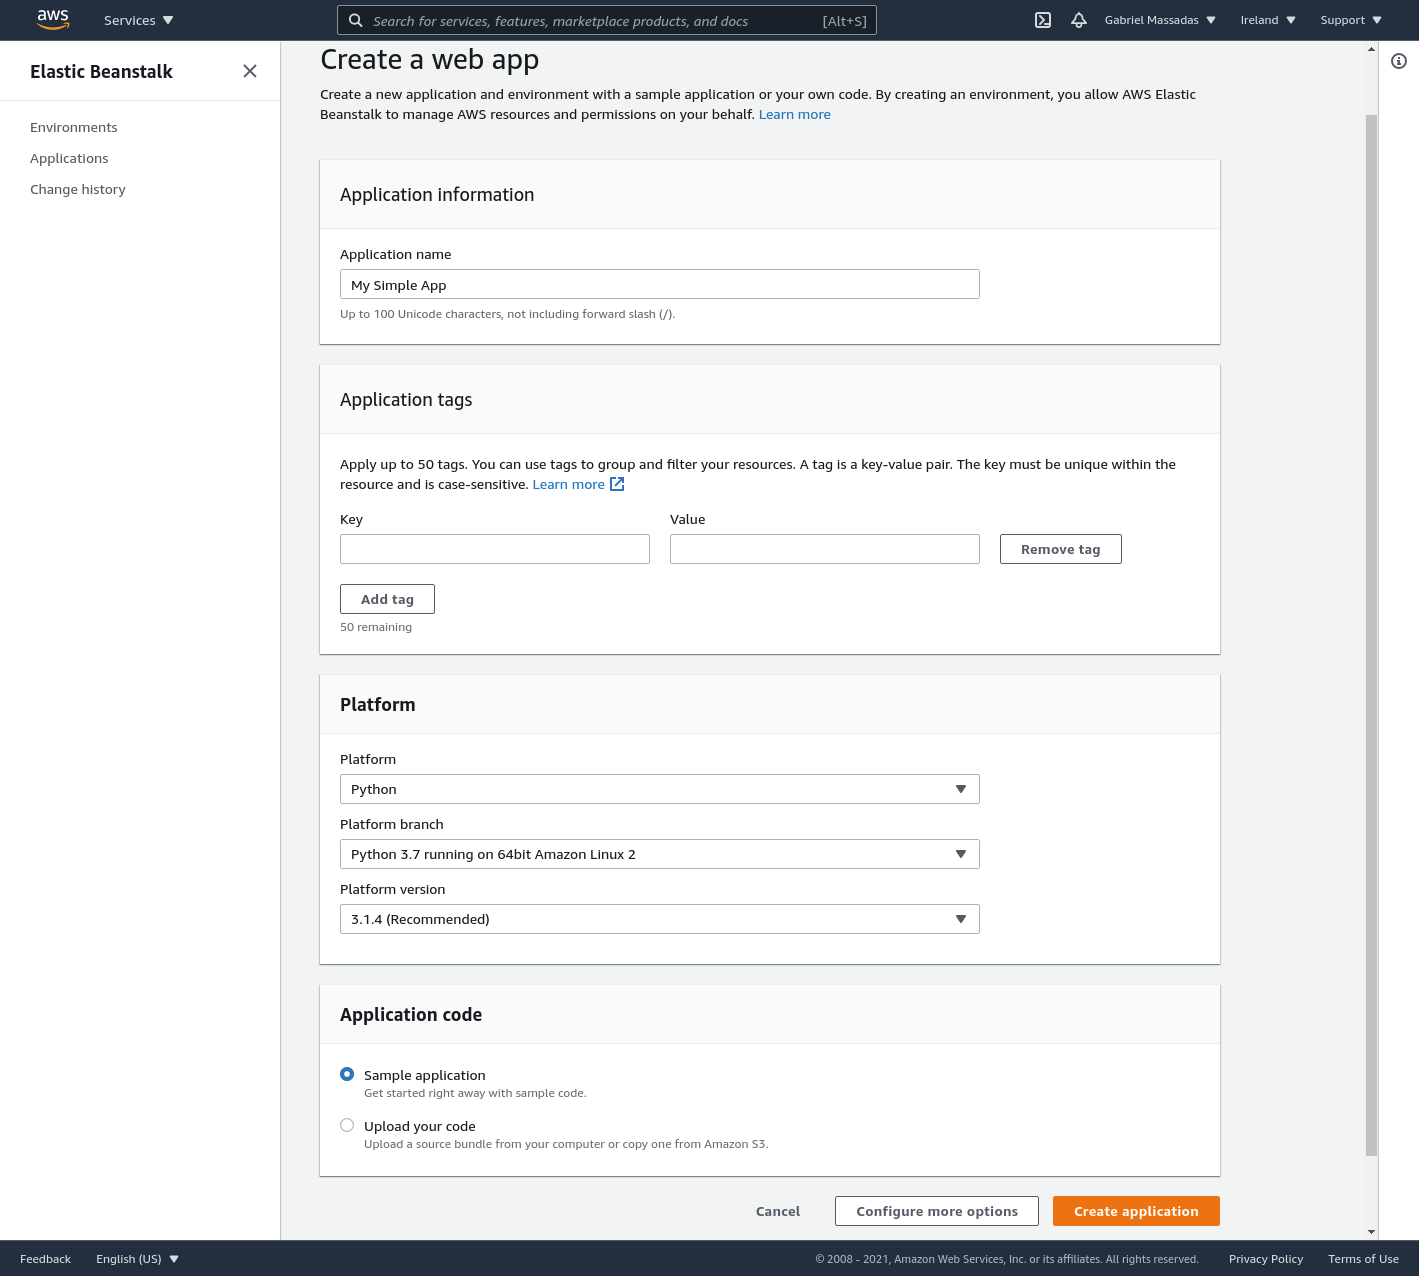
That’s it, your application is being created 🎉.
2. Installing AWS EB CLI
The AWS Elastic Beanstalk Command Line Interface (EB CLI) is a command line client that you can use to create, configure, and manage Elastic Beanstalk environments.
All you need is to open a terminal in your application’s root folder and install the package with pip. You don’t need
to include this package in your requirements.txt.
pip install awsebcli
Then run this command to configure everything. Here you will be asked to insert your AWS credentials and you should select the application we had just created.
When you are asked to enable “CodeCommit”, just select No.
eb init
This command will create a folder in your current location named .elasticbeanstalk and it will also update your
.gitignore to make sure you don’t add your local configuration to the repository.
3. How to adapt your project to run inside Beanstalk
The first step into getting your project to run in Beanstalk is to create the .ebextensions folder in the root of
your project. This will tell how should the Beanstalk handle the application.
The configuration files inside this folder are executed alphabetically. To keep things simple, they usually start
with a number.
Then create another file inside the folder named 01_packages.config and add the following snippet of code:
packages:
   yum:
      polkit: []
      postgresql-libs: []
      postgresql-devel: []
      gcc: []
      python3-devel: []
      libcurl-devel: []
      openssl-devel: []
      openssl-static.x86_64: []
This configuration tells Beanstalk what packages to install on your server when doing a deployment. If you want, you can mess around with those, I’m just adding this here to save you some debugging time because a pip requirement is not working for various reasons.
Optionally, if you want the Beanstalk to monitor your application health create a new file inside the folder named
02_health.config and add the following snippet of code:
option_settings:
   aws:elasticbeanstalk:healthreporting:system:
      SystemType: enhanced
   aws:elasticbeanstalk:environment:process:default:
      MatcherHTTPCode: '200'
      DeregistrationDelay: '20'
      HealthCheckInterval: '15'
      HealthCheckPath: /health/
      HealthCheckTimeout: '5'
      HealthyThresholdCount: '3'
      UnhealthyThresholdCount: '5'
      Port: '80'
      Protocol: HTTP
      StickinessEnabled: 'true'
      StickinessLBCookieDuration: '43200'
Here customize the HealthCheckPath and HealthCheckInterval to match what you want. Then After the application is
deployed, the Beanstalk will be monitoring your application every X seconds on the defined path for a status code of 200.
Get more information about the Health checker here.
Get more information about what options are available for .ebextensions here.
4. Setup Celery + Celery Beat
Now you will need to define the commands that Beanstalk will run to start all your processes.
Create a new file named Procfile in the root of your repository with the following content:
web: gunicorn --bind :8000 my_django_app.settings.wsgi:application

celery_worker: celery worker -A my_django_app.settings.celery.app --concurrency=1 --loglevel=INFO -n worker.%%h

celery_beat: celery beat -A my_django_app.settings.celery.app --scheduler django_celery_beat.schedulers:DatabaseScheduler --loglevel=INFO
Make sure the my_django_app.settings.celery and my_django_app.settings.production point to the right settings and
celery configurations.
This Procfile is what defines the processes running inside each instance, and the naming of the processes will be coming handly in the Debugging part of this tutorial.
Also, take into consideration that the default Port that the Beanstalk will be listening to is 8000 if you want/need a different one, you have to update it in the Procfile and also update your application configuration inside AWS Console.
5. Deploying the project
After you create all those files, commit them, because the EB CLI does a git archive to send your code to AWS.
Since everything is committed, open the terminal in the root folder of your repository and just run this command:
eb deploy
When the command finishes loading you should see a response like this:
Creating application version archive "app-c8e5-210127_190345".
Uploading: [#######################################] 100% Done...
2021-01-27 19:03:51    INFO    Environment update is starting.
2021-01-27 19:03:55    INFO    Deploying new version to instance(s).
2021-01-27 19:04:05    INFO    Instance deployment successfully used commands in the 'Procfile' to start your application.
2021-01-27 19:04:33    INFO    Instance deployment completed successfully.
2021-01-27 19:04:37    INFO    New application version was deployed to running EC2 instances.
2021-01-27 19:04:37    INFO    Environment update completed successfully.
If you got any errors and the command response doesn’t describe the problem, don’t worry and go straight to the next step of this tutorial.
6. Debugging inside Beanstalk
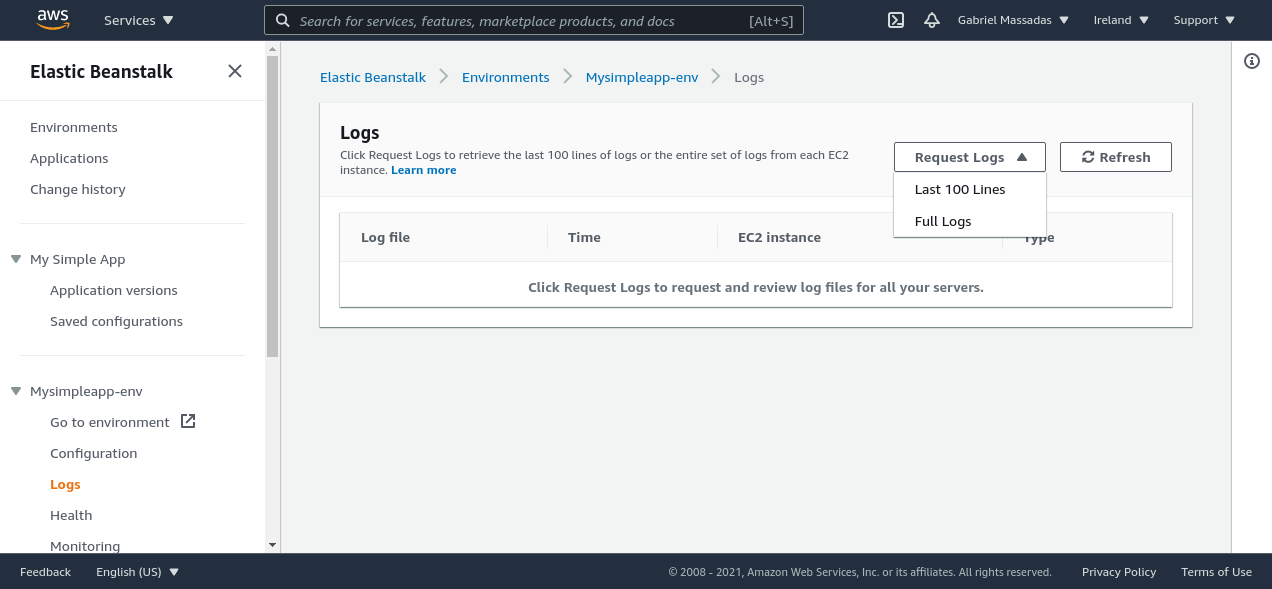
There are two main ways to debug/look into the logs inside Beanstalk. The first is to grab the logs directly from the AWS console, by opening your application, then going to logs, and then clicking request logs.
The other way is just ssh into the instance, you can do so with the EB CLI.
Just open the root folder of your project and enter the next command:
eb ssh
This will open an ssh connection to your server, and you should see something like the next image:
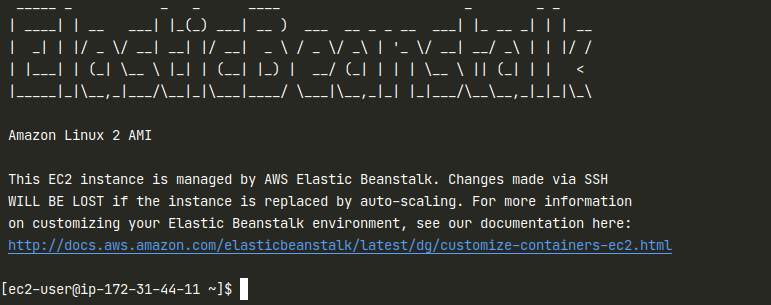
After you get in, type the following commands to activate your python environment and change your directory to the currently deployed version of your application.
source $(find /var/app/venv/ -name activate)
export $(sudo cat /opt/elasticbeanstalk/deployment/env | xargs)
cd /var/app/current/
If you get any error saying that folder doesn’t exist, you just need to go to the parent folder, like this
cd /var/app/ , then here just run ls and you should see your application folder there.
7. Things to watch out for
Please take into consideration that this tutorial doesn’t cover a scalable solution for a celery deployment!
Because when your Beanstalk application starts scaling up and booting more than one server, you will end up having multiple celery instances running. You should only have one all the time (this issue can cause your tasks to be executed twice).
I will be releasing a future tutorial covering a scalable celery solution for Beanstalk, but meanwhile, if you want to search, you can do so by the terms of “beanstalk leader only” or just straight create a secondary Beanstalk application just to handle your celery environment (which is the one I recommend).